Pushing images to Google Cloud Container Registry
Firstly make sure you have configured your docker to push images to Google Cloud Container Registry if you are not already done that please check the instructions here https://onecompiler.com/posts/3ukn7sg5p and setup your computer to push images.
Once the init and configure-docker are done, you can follow the below steps to upload images.
1. Choose the image
Choose the image that need to be uploaded to Google Cloud Container Registry. Run the following command to list all available images in your computer
$ docker images
This will output all available images in your computer like below
$ docker images

REPOSITORY                TAG                 IMAGE ID            CREATED             SIZE

foo/bar                   1                   605d9c7cd5cf        44 seconds ago      122MB
alpine                    edge                3e8d7a5561f0        2 weeks ago         5.56MB
so in this case you have twi images here, one is the base alpine image and the other is my application image. My application image is foo/bar:1
2. tag the image you want to upload
now to upload this image to Google Cloud Container Registry take the image id and run the following command to tag it.
$ docker tag 605d9c7cd5cf gcr.io/foo/bar:1
After this if you run docker images you should see your new image as well.
$ docker images

REPOSITORY                TAG                 IMAGE ID            CREATED             SIZE

gcr.io/foo/bar            1                   605d9c7cd5bf        44 seconds ago      122MB
foo/bar                   1                   605d9c7cd5bf        44 seconds ago      122MB
alpine                    edge                3e8d7a5561f0        2 weeks ago         5.56MB
3. push the image
Now you all set to upload your image to 'Google Cloud Container Registry'. Run the following command to upload it.
$ docker push gcr.io/foo/bar:1
Thats it, this should upload your image to `` after successful upload you will see logs something like below
$ docker push gcr.io/foo/bar:1
The push refers to repository [docker.io/foo/bar]

605d9c7cd5bf: Pushed
3e8d7a5561f0: Layer already exists
4: digest: sha256:f9e04de156baf6475bf28898db1ca06968b3f51b95d7f2556daf14220b7ef06b size: 952
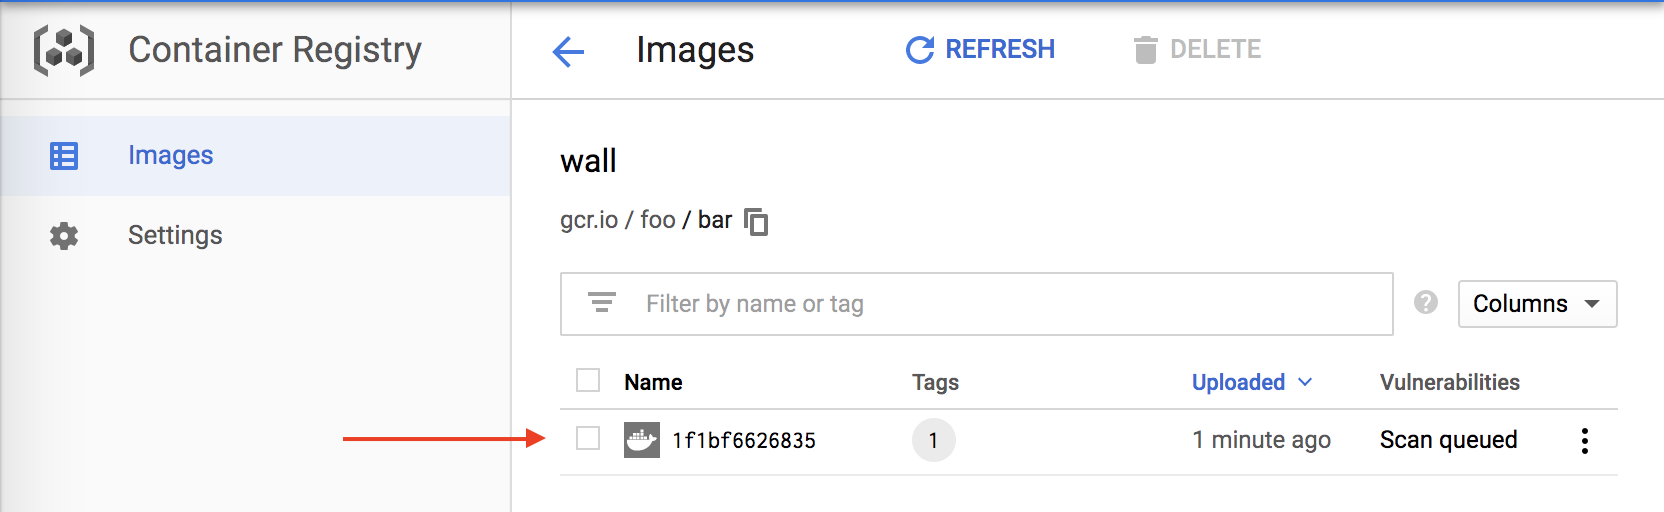
After the successful upload you can go to the Google Cloud Container Registry in Google Cloud Console and check the uploaded image.